ELEVEN
ZBrush Overview

Digital sculpting overview
I was at a writers talk and someone from the audience asked for advice,
they wanted to try writing but they didn’t know how to start?
One of the authors replied “Start writing … Edit later.”
This is good advice for artists looking to learn a new medium such as digital sculpting – first start making stuff … and learn the rules later. When trying out a program like ZBrush watch the getting started tutorials on the Pixologic website HERE and then just jump in! I’ve included an overview below on some of the basics. Yes it will be frustrating at first, but it’s a start.
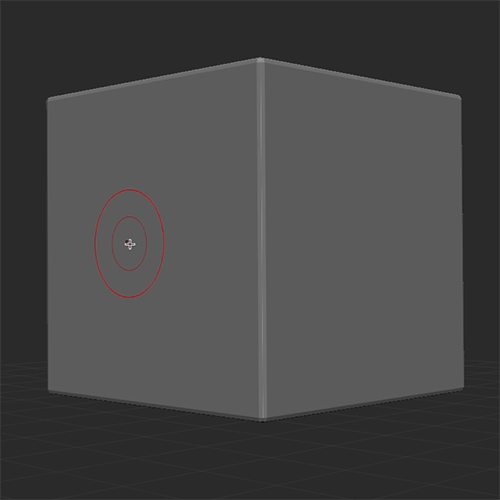
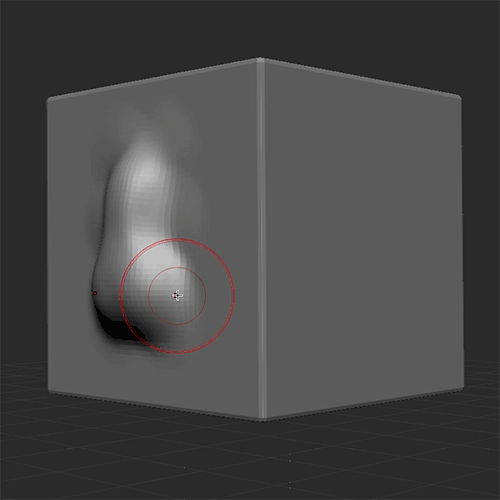
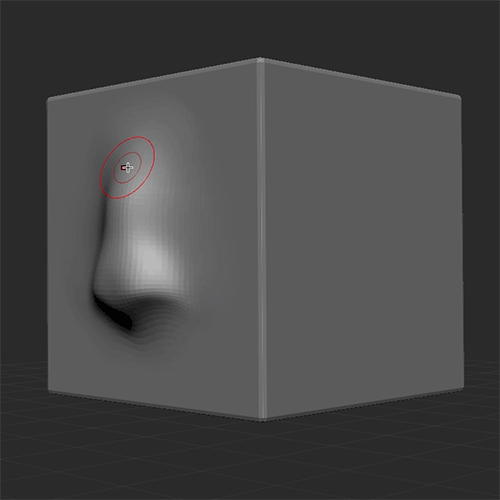
Addition
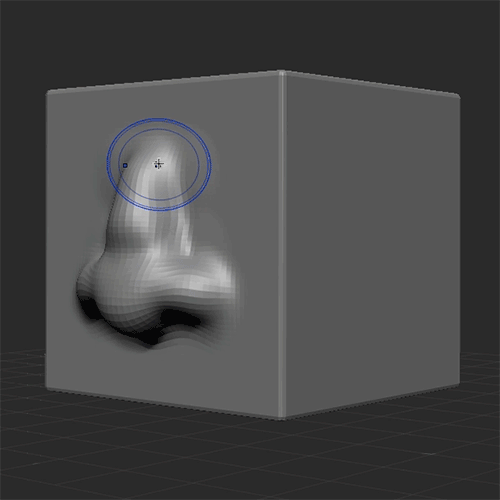
Use the standard brush to sculpt shapes just like you would when sculpting with clay. ZBrush adds volume as you draw upon the surface of a shape. The brushes are pressure sensitive and you can adjust the size and sharpness of the brush. It’s easier to sculpt and build up larger areas of form if you start with lower resolution shapes that have a small polygon count.
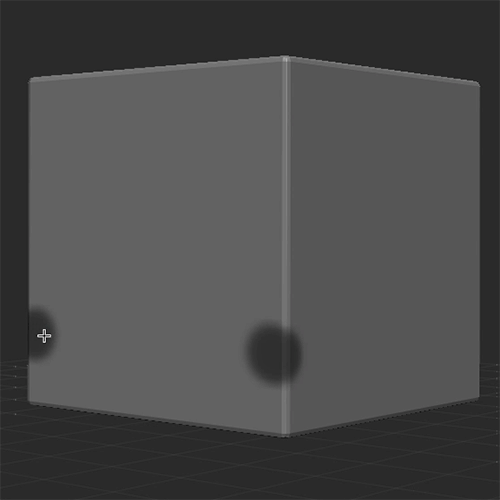
Subtraction
Holding the option key while using sculpting tools enables you to carve into the surface of a shape. As you build out the form by adding and subtracting its a good idea to work with as small a resolution as possible. Once you have the basic forms established you can subdivide the polygons to give you a higher resolution which will allow you to achieve sharper details.
Moving and Pinching
Using the move tool is useful in shaping sculpted areas such as the bridge of the nose or nostrils. You can pinch, fold, and compress forms together and create sharper angles, creases, and folds. When working with lower poly forms the move tool is great for flattening or expanding out shapes. When working at higher poly counts you can create sharp details such as creases in the skin or defining the planes of the face.
Inflate
Inflating is like blowing up a balloon with polygons. It is used to manipulate the existing mesh which can fill out and build upon existing sculpted elements while retaining the underlying form.
Using a variety of tools can facilitate a range of mark making which can make sculpting quicker and easier.
Smoothing
Holding the shift key while using the sculpt tool allows the artist to smooth out shapes as you sculpt. Drawing into a sculpture can start out pretty raw, with this tool you can smooth out the shapes, planes, and textures (or lumps!) on your model. This is pressure sensitive and reductive which shrinks the polymesh so it takes a light touch.
Masking
Holding the command key while moving the cursor over a sculpt will paint in a mask. Masks can be useful to delineate an area you want to work on without effecting other areas around the mask. It can be also used to create textures and patterns.
Holding command and clicking outside the mask reverses it.
Holding command and dragging the cursor outside the mask releases it.
Holding command and clicking on the mask will blur it
And you can sharpen the mask as well if the model has a high enough polycount. Shape mask such as rectangles and ellipses can also be selected in the brush menu for specific shapes (Use shift for a perfect circle!).
Deform
The deformation menu can be very effective in creating custom shapes or blocking in a shape. For instance using the Size control to change a sphere to an oval when creating a face. Or using the Taper to create tea drop or cone shapes. Shapes can be deformed via the x,y, or z axis or in combination.
Clipping
Cutting tools such as Clip Curve can be used to cut out areas. It can be tricky to get the hang of clipping, you have to cut the tool in a certain direction and you can only cut up too, but not over, the largest circumference of an object. It is actived by selecting the desired clip tool and by press ctrl + shift while clicking and dragging the cursor in the desired direction.

Combining Shapes
Combining forms is important in working on shapes separately and differentiating forms as you sculpt. For instance a nose, and ears can be sculpted separately as subtools and combined later when putting on the final touches - which would allow you to resize or move the individual element as you sculpt. Also shapes can be saved as ZTools and reused in other sculptures.
ZSphere
ZSpheres is a ZBrush tool that can be used to create a rudimentary mannequin for building the basic structure of a character or creature design. ZSpheres are initiated by selecting them in the tools menu.
Click and dragging on top of a ZSphere adds another ZSphere. Click and dragging while holding the control key will extend out the ZSphere to create an extension/appendage. Clicking anywhere along the extension will add another ZSphere to create a joint for example. Adapted or Unified skins can be made out of these and sculpted like any other 3D mesh.
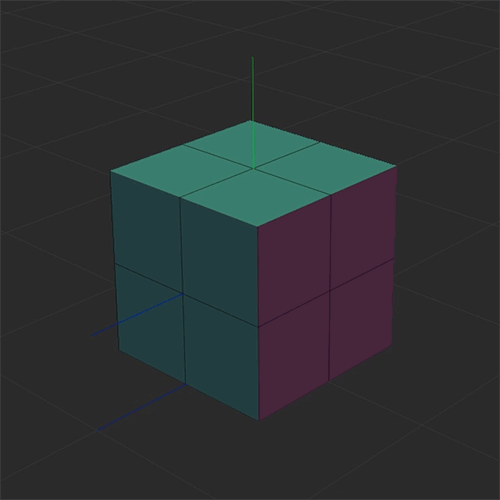
ZModeler and QCube
QCubes can be an easy and effective way to make buildings, vehicles, and other mechanical or geometric objects. Starting from a basic mesh shape such as a sphere, go to the initialize menu to transform the mesh to a QCube. Select the PolyF menu button along the righthand side artboard menu to see the polyforms on the QCube. Select the ZModeler brush and drag the faces of the cube to extend and add cubes. Hold the option key to select multiple cubes. Drag from the edges of a cube to subdivide the cubes into smaller portions (horizontal or vertical).